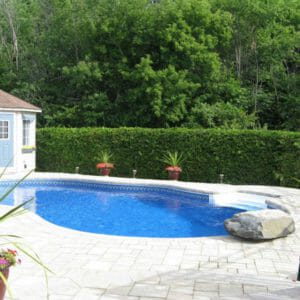
How to Install Interlocking Pavers
So you want to know how to install pavers? First, let’s educate those of us who don’t know what a paver is. A paver is simply a paving stone, brick, piece of concrete or tile and it’s what you see used for driveways and outdoor patios. Interlocking pavers are a special type of paver which are also known as segmental pavers. Interlock pavers are good for extreme weather conditions which can cause concrete to crack.
Now that we know what a paver is, let’s get on with a step by step guide on how to install pavers.
Installing Pavers Step 1: Plan & Check with Utilities Company
The first thing you need to do is to create a plan and then check with the utilities company to ensure that there are no pipes, wires etc in the area. Use graph paper and create a scaled drawing of the area, making sure that you take drainage into effect. Make sure your plan is detailed and that everything is sloping away from the house and / or any other structures. The slope should be between 1/8-1/4 inch per foot.
Installing Pavers Step 2: Choose Your Materials
You’ve got the area designed and mapped out and now you need to decide on the type of paver you want as well as the color and shape. There are many choices so find something to your liking and then calculate how many you need based on square footage of the area. If the area is pretty square or rectangle and doesn’t have a lot of curves, you can calculate how many pavers you need pretty accurately based on square footage – but add an additional 5% to your number just in case. If your design is a curvy or more complex, add 10 % to that figure.
Installing Pavers Step 3: Outline and Slope
Get string and some stakes and outline the project area exactly to specification then use the string to create the outline of the slope. As an example of how to figure out how much to slope the area, let’s use 1/4 inch for every foot. So then every four feet, it would drop down 1 inch. Place these slope strings across the entire area so that you can easily see the slope at every stage of the project.
Installing Pavers Step 4: Excavation
Whether your paving project is a walkway or a driveway will determine the depth that you’ll need to excavate: approximately 12 inches for foot traffic and up to 18 inches for driveways depending on the condition of the ground (moist ground, for example, requires more base material). After you figure out how deep you need to go (you can call your local building supply store for advice), add another 1 – 1 ½ inches for the sand that you’ll need to add later plus the thickness of the pavers. Let’s say it’s a walkway you’re building, the pavers are 2 1/2 inches thick, you’re going to put a 1 inch sand layer and the base is to be 12 inches. Therefore, the total excavation depth would be 1” + 2.5” + 12” = 15.5 inches. Make sure that you excavate at least 12” beyond the area of the pavers to accommodate the edge restraints you’ll be putting in later on.
Installing Pavers Step 5: Laying the Base
Your base material is going to be some type of crushed stone that’s irregularly shaped so that it drains well. Only lay a max of 6 inches of base material at a time before compacting it with a mechanical plate compactor. This step is crucial if your project is to be a success as this is your last chance to ensure there are no dips or bumps and that the slope is correct. Keep compacting every 2 inches until you’re about 3 inches from your desired height.
Installing Pavers Step 6: Install Edge Restraints
Edge restraints help hold the project together over the years and are usually made of plastic, steel or aluminum and are held in place with 12 inch spikes.
Installing Pavers Step 6: Add Layer of Sand
Sand holds your pavers in place and should be coarse and added until the layer is between 1 and 1.5 inches deep. Use a large pipe or piece of wood (make sure it’s absolutely straight) and run it across the sand to ensure that it’s level. This is called “screeding”. Make sure you don’t step on the sand after it’s been screeded.
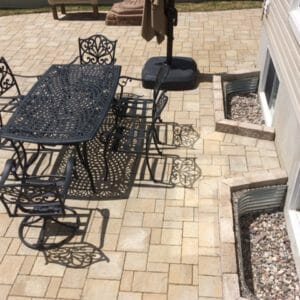
Installing Pavers Step 7: Laying the Pavers
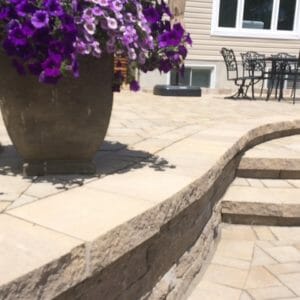
This is actually one of the easier steps. You’ll want to start along the straightest and longest edge at a 90 degree corner, preferably against the house or structure. Since pavers are made from natural materials, they usually have a slight colour difference between pallets so make sure that you pull from different pallets as you move along to minimize the color differences.
You want to drop the pavers into place and not slide or kick them or otherwise disturb the layer of sand. Remember not to step on the sand – step on the pavers you’re laying and work your way out. Don’t worry too much about gaps as you want 1/16 – 1/8” gap between your pavers.
Installing Pavers Step 8: Cutting Pavers
It’s almost impossible to finish a project and not require cutting some pavers. Lay all pavers in each row and then cut the end pavers to size using a masonry saw or guillotine splitter. Once the entire pattern is laid out, use a plate compactor (with a protective covering) on the pavers to ensure they are firmly pressed into the sand. Do this 3 times before moving onto the next step.
Installing Pavers Step 9: Sealing the Pavers
To add durability and lower maintenance costs throughout the years, seal your pavers with an appropriate sealing product. Make sure you clean the pavers before you start! A note to add here is to always review the manufacturers installation guide before you use any product. This is especially true for sealants!
Installing Pavers Step 10: Sweep
The last step is to sweep sand into the joints as this sand is what holds the pavers together. You can use the same sand you used before or you can use finer sand for this stage. You want the sand to be dry and you may have to do this step several times over the next month as the sand compacts.
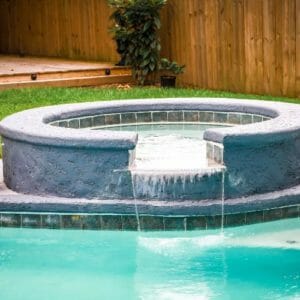
If you’re looking for more information on interlocking stone such as the different types of interlocking stones and what customizations we can provide, check out this interlock category page here.
And there you have it, you now know how to install pavers! If you’re looking for an interlock or pool installation company in Ottawa, you’ve come to the right place. Click here to contact us about your next paving or landscaping job.